I started this legging project when Esti Rose was quite a bit younger, when she was just getting into the 12 month size. Now when I finally got around to taking the photos, she is pretty much into the 18 month size! But this was still a good time to compare to see the longevity of the pattern. I wanted to do this project because I had only tried one legging pattern, and I really wanted to find a go to. With a baby girl now, I see ALOT of legging sewing in my future.
I also found that a lot of the legging patterns out there started at 2T. I wanted to compare as many as I could that had at least as small as 6 months available.
Going into it, I preferred leggings with an elastic waistband and hemmed legs. I like no trim pages and I really like when the measurements for the elastic/extra pieces and the size guide is inside of the pattern. I do think that after this, I am converted to a yoga style waistband over elastic.
Disclaimer: I am not affiliated with any of these companies. You cannot go wrong with any of them! I really enjoyed trying a wide variety of patterns out.
If a pattern says free, either it is free on the website, or they have a coupon in their Facebook group to get it for free.
Let’s get into it!
I used the 12 month (or closest to it) for all the patterns.

Petite Pegs from Patterns for Pirates
Cost: FREE
Sizing: Premie – 12 Months
Trim Pages: No
Size guide/extras inside pattern?: Yes
Waistband type : Yoga
LUXE Solids used: Shadow 2-Tone
Notes: I found the waistband large, even with her being at the end of wearing 12M. However I do think that these are a bit longer lasting than some of the others.
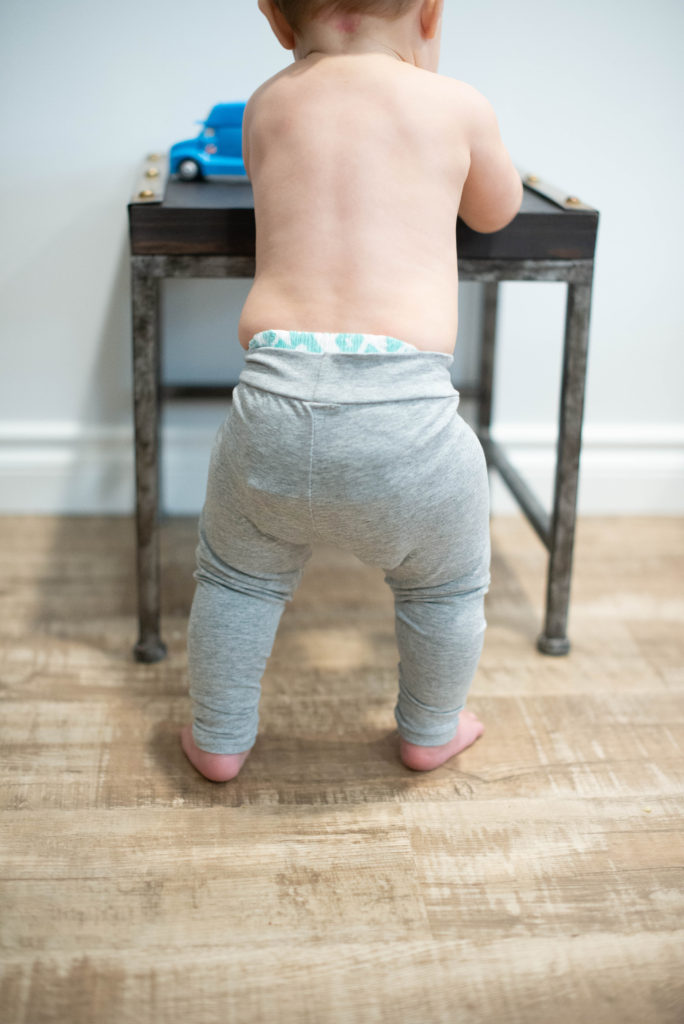
Bonny Leggings from Made For Mermaids
Cost: FREE
Sizing: 1/2y-14y
Trim Pages: No
Size guide/extras inside pattern?: Yes
Waistband type: Yoga
LUXE Solids used: Cloud 2-Tone
Notes: Well fitting. I found the sizing confusing, and these are more for children than babies, but I included it because it did have the 6M and 12M (1y) size. The fit for the 1Y was great and comparable to the other 12M patterns.
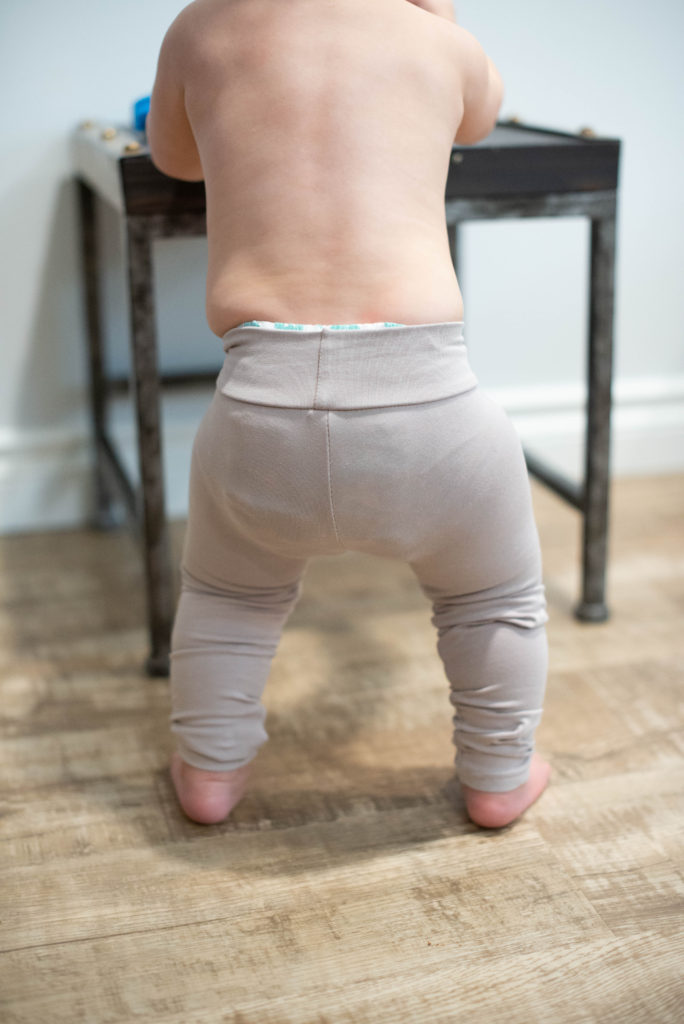
Eden Leggings from Bella Sunshine
Cost: FREE
Sizing: 6m – 12y
Trim Pages: Yes
Size guide/extras inside pattern?: No, but size on the pattern and waistband piece included
Waistband type: Yoga
LUXE Solids used: Stone
Notes: These looked odd sewed up. The crotch seemed very shallow. But they did fit great! The legs are much longer than any of the others. Also I was really impressed with the PDF, so well put together.

Ariel Leggings from Stitch Upon A Time
Cost: $9 USD
Sizing: Newborn to 12y
Trim Pages: Yes
Size guide/extras inside pattern?: Yes
Waistband type: Yoga
LUXE Solids used: Blush
Notes: This pattern has a great size range and comes with tonnes of options, this really would be the only legging pattern needed until adulthood! It fits great, and generously, she could keep wearing these for a while yet.
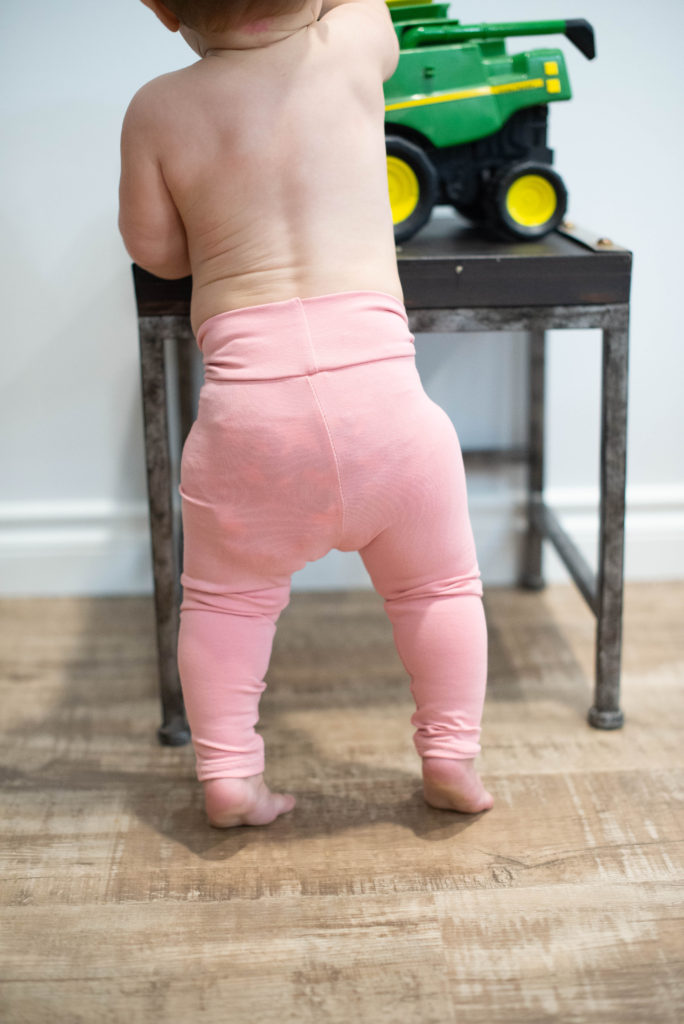
Leggings from Halla
Cost: FREE
Sizing: 3 months – 14 y
Trim Pages: No
Size guide/extras inside pattern?: Yes
Waistband type: Yoga
LUXE Solids used: Rose
Notes: I was super impressed with this pattern, with its no-trim pages, pattern “map” in which every page of the pattern showed which part of the leggings it is, sizes on the cut lines, and alteration guide. It definitely was the most user friendly patterns of them all. I hate putting PDF patterns together, but it one was FUN. The fit is great and I love how high the waistband goes up. I do think these will be my go to leggings.
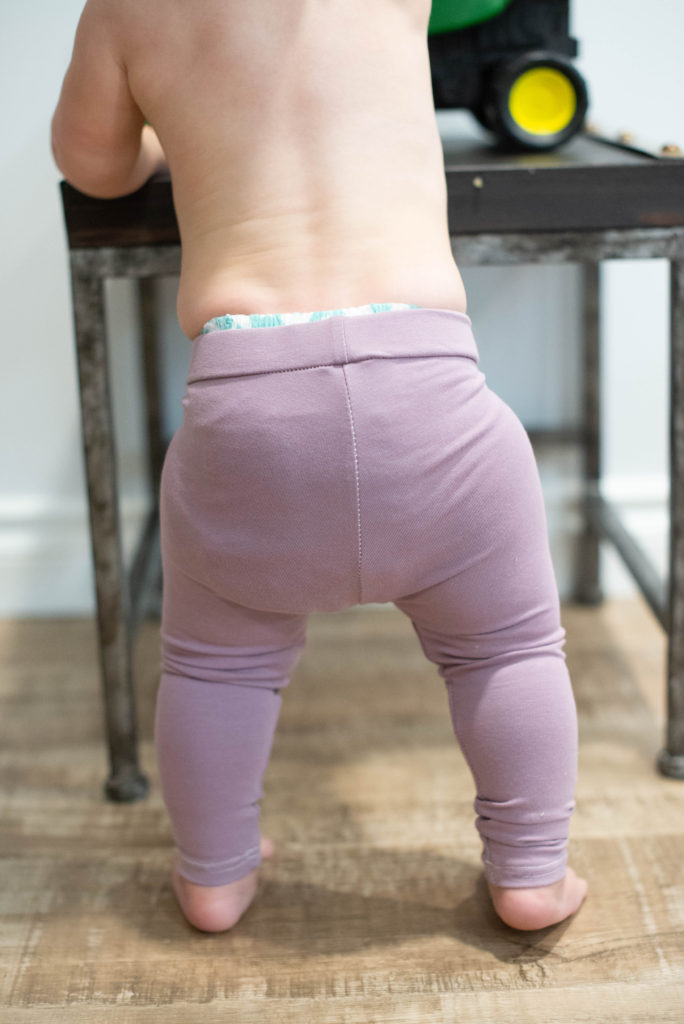
Flash Leggings from Jennuine Design
Cost: FREE
Sizing: Newborn to 12Y
Trim Pages: Yes
Size guide/extras inside pattern?: No
Waistband type: Waistband with encased elastic
LUXE Solids used: Mauve
Notes: The fit was great, but the elastic encased in the waistband was the most time consuming of all the other methods.
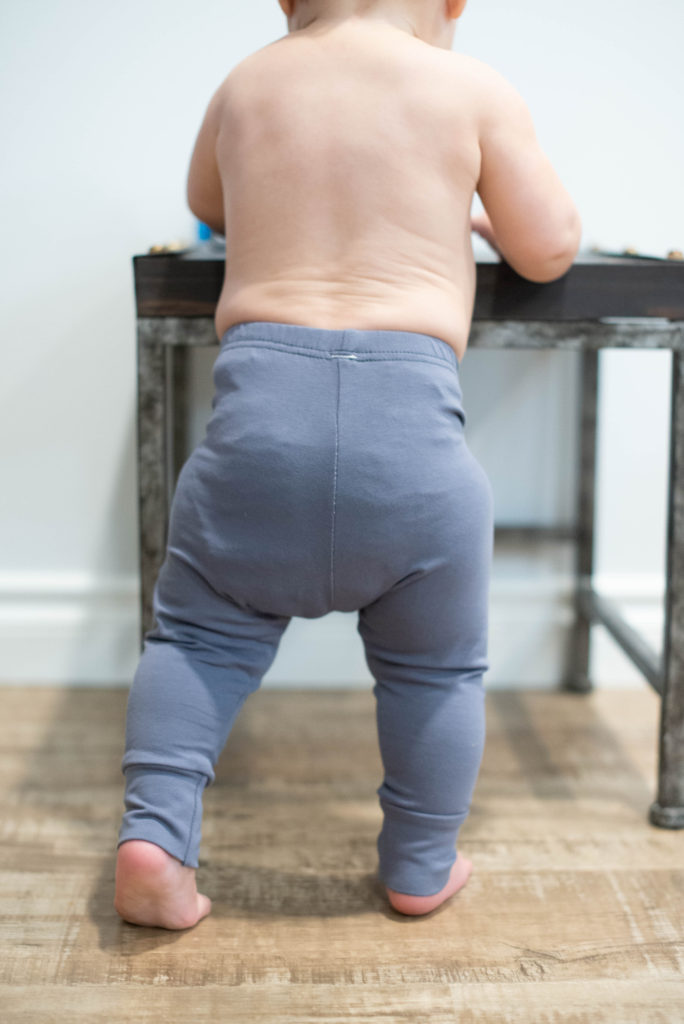
Sweetie Leggings From Petite Stitchery
Cost: FREE
Sizing: Newborn to 24 Months
Trim Pages: No
Size guide/extras inside pattern?: No
Waistband type: Yoga
LUXE Solids used: Steel
Notes: This was the only leggings that did not have a hem option. I liked the look of the cuffs and I think it is a very nice unisex fit. This will be my go-to for boy baby gifts. Love the no trim page and the circles made it very easy to line them up.
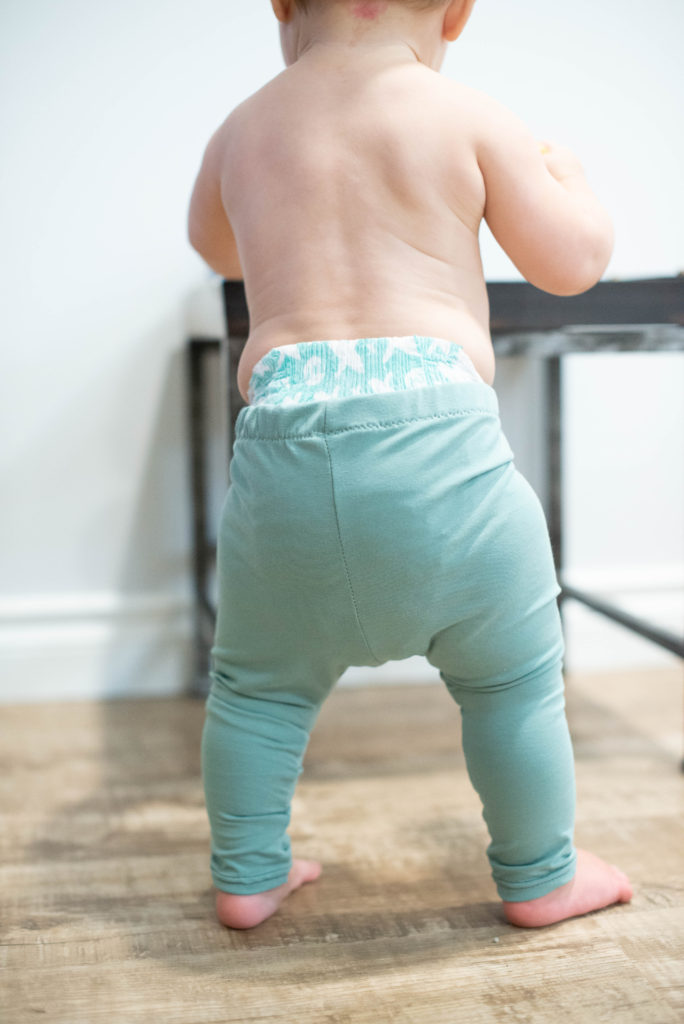
Leggings from Brindille & Twig
Cost: 7.50 USD
Sizing: Premie to 6Y
Trim Pages: Yes
Size guide/extras inside pattern?: no
Waistband type: Elastic
LUXE Solids used: Julep
Notes: This was the pattern I used when I sold leggings at markets. I always made the elastic shorter than called for because I got feedback the waist was too large. For this pair, I followed their guide, and low and behold, the waist was too large for Esti Rose. Even though she is almost out of this size. This is also the hardest pattern to piece together out of all of them.

